Kokia Blazehoof
Ruby Life Pools · boss 2 of 3
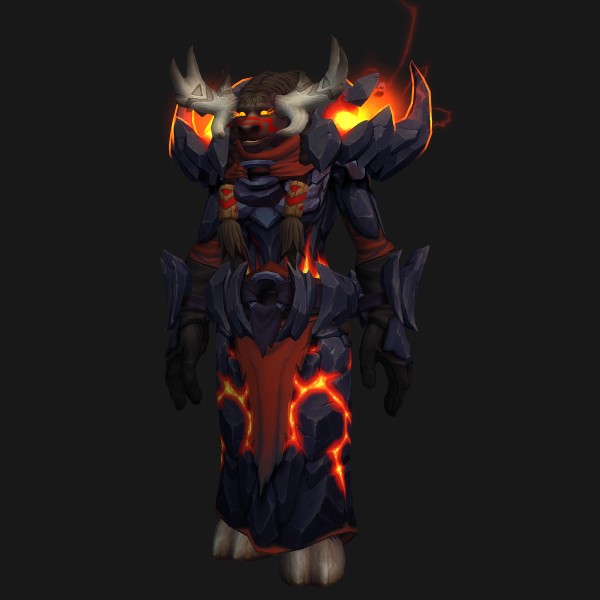
As Primalist forces assault the Ruby Life Pools from all sides, it falls to Kokia and her Blazebound lieutenants to capture precious eggs from overwhelmed defenders, all while spreading flame and havoc as they go.
Every Ritual plants a Blazebound Firestorm that taxes the group until it dies; interrupt its volley, burn it down together, and avoid the fire it leaves on death.
Between rituals she throws Molten Boulders and beats the tank with Searing Blows. At 100 energy she plants a Blazebound Firestorm on a player; while it lives it stacks a group-wide Inferno and casts an interruptible Blaze Volley. Kill it fast, but note Burnout explodes and leaves Scorched Earth.
The spells that matter
The handful you actually react to. Hover for Blizzard's own text; click through for the full tooltip.
 Ritual of Blazebinding
Blazebound Firestorm
Ritual of Blazebinding
Blazebound Firestorm
 Burnout
 Scorched Earth
 Blaze Volley
 Inferno
 Searing Blows
 Searing Wounds
What actually kills you
Everything else is noise until these three are handled.
- A missed interrupt. Blaze Volley hits everyone hard and can simply be stopped.
- Firestorms overlapping. Inferno stacks, so a second Firestorm arriving while the first lives compounds the group damage.
- Killing a Firestorm where you need to stand. Burnout leaves Scorched Earth exactly there, and the arena only has so much floor.
Your job
If you tank
- Searing Blows lands many strikes fast, each adding a Searing Wounds burn. It is a stacking bleed, not just an autoattack window.
- Keep Kokia clear of Scorched Earth so the group holds clean ground for the next ritual.
If you heal
- Inferno stacks for the whole time a Firestorm lives. The healing bill is a function of kill speed, so slow DPS is your problem to flag.
- The Ritual cast itself hits the targeted player before the Firestorm even exists.
If you DPS
- Rotate interrupts on Blaze Volley. Assign the order before the pull.
- Burn the Firestorm together. Split damage lets Inferno keep stacking on everyone.
- Molten Boulder hits hard, knocks you away, and leaves fire where it lands. Sidestep its path.
How the fight goes
| Part | What to do |
|---|---|
| Step 1 | She alternates Molten Boulders at range with Searing Blows on the tank. |
| Step 2 | At full energy, Ritual of Blazebinding plants a Blazebound Firestorm on a player. |
| Step 3 | The Firestorm stacks Inferno and casts Blaze Volley until it dies, then Burnout leaves Scorched Earth where it stood. |
Higher keys
Heroic and Mythic
The journal publishes no key-level-specific text; higher keys scale health and damage. We would rather say that than invent a difference.
Loot
Everything Kokia Blazehoof can drop, from the Midnight Season 2 item database.
| Slot | Item |
|---|---|
| Head | Blazebound Lieutenant's Helm |
| Chest | Invader's Firestorm Chestguard |
| Trinket | Blazebinder's Hoof |
| One-hand | Havoc Crusher |
| Back | Fireproof Drape |
| Held in off-hand | Kokia's Burnout Rod |
Nothing matches that.
This boss drops a trinket. Trinket value varies enormously by spec — see the simulated trinket rankings.
Worth a bonus roll?
You cannot roll this boss on its own. A dungeon roll is against the whole instance, so this table is one part of a pool that includes every other boss in Ruby Life Pools — the bonus roll guide explains what that changes, and the planner works it out per spec.