Avatar of Sethraliss
Temple of Sethraliss · boss 4 of 4
The Heart of Sethraliss is in the grips of a terrible power that seeks to corrupt her. Her avatar must be restored before this evil takes root and she is reborn as a dark loa capable of destroying the whole of Vol'dun.
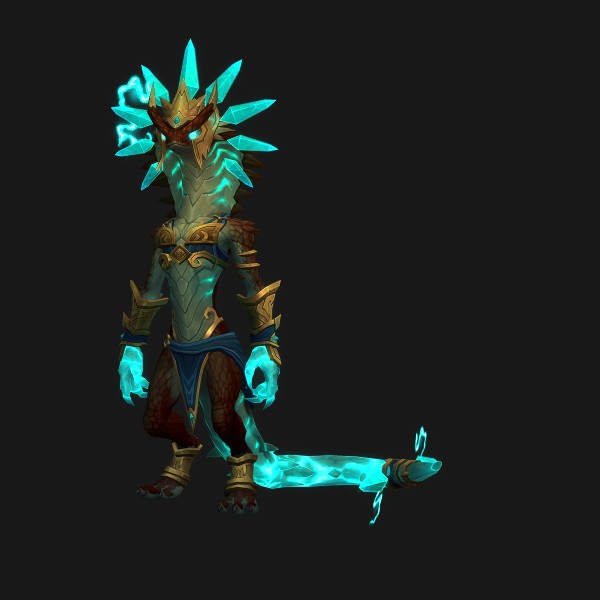
You win by healing the Avatar to full, not by killing her: kill the Defilers to unblock her healing, cleanse and carry the lifeforce to her, then get the Tormentors low so she finishes them.
In stage one, kill the Essence Defilers to stop Defiling Taint blocking her healing, cleanse Corrupted Lifeforce from the Guardians so the Avatar can consume it, and handle the Twisted Hexxers. In stage two, damage the Faithless Tormentors down and let the Avatar's Siphon the Weak finish them.
The spells that matter
The handful you actually react to. Hover for Blizzard's own text; click through for the full tooltip.
 Defiling Taint
 Corrupted Lifeforce
Corruption
Corrupted Lifeforce
Corruption
 Corruption Burst
 Consume Lifeforce
 Latent Hex
 Shadowlash
 Siphon the Weak
What actually kills you
Everything else is noise until these three are handled.
- Leaving an Essence Defiler up. Defiling Taint prevents all external healing on the Avatar, so nothing else counts while one channels.
- Mishandling Corrupted Lifeforce. Touching it stacks Corruption — damage, reduced healing done, and increased Physical damage taken — and any application left when it expires fires a Corruption Burst on the group.
- Removing Latent Hex carelessly. When it comes off it damages everyone nearby and drops Hex Muck, which turns anyone in it into a frog.
Your job
If you tank
- Corrupted Guardians hit hard in both schools, and Tainted Strike leaves a stacking Shadow burn on top of the physical hit.
- Vile Charge picks a player rather than you. Stay close enough to peel.
If you heal
- Two mechanics exist to stop you: Defiling Taint blocks healing on the Avatar, and in stage two the Faithless Tormentors fixate on you personally with Shadowlash.
- Corruption reduces healing done as well as dealing damage, so a stacked-up group heals worse exactly when it needs more.
If you DPS
- Defilers first, always. Everything else is optional while healing is blocked.
- Cleanse the lifeforce before the Avatar can consume it, and get it to her; each one she eats heals a chunk and keeps regenerating.
- In stage two, damage the Tormentors down rather than execute them. Below the threshold the Avatar Siphons the Weak, killing them and healing herself.
How the fight goes
| Part | What to do |
|---|---|
| Step 1 | Stage One: Essence Defilers block healing with Defiling Taint, Corrupted Guardians drop lifeforce, and Twisted Hexxers throw Latent Hex and Hex Muck. |
| Step 2 | Clear the Defilers and get cleansed lifeforce into the Avatar to start her recovering. |
| Step 3 | Stage Two: Faithless Tormentors fixate the healer with Shadowlash. Push them low and let Siphon the Weak finish them. |
Higher keys
Heroic and Mythic
The journal publishes no key-level-specific text; higher keys scale health and damage. We would rather say that than invent a difference.
Loot
Everything Avatar of Sethraliss can drop, from the Midnight Season 2 item database.
| Slot | Item |
|---|---|
| Head | Sethraliss' Fanged Helm |
| Head | Hood of the Slithering Loa |
| Shoulder | C'thraxxi Binders Pauldrons |
| Shoulder | Brood Cleanser's Amice |
| Chest | Desert Guardian's Breastplate |
| Chest | Corrupted Hexxer's Vestments |
| Hands | Grips of Electrified Defense |
| Trinket | Sethraliss' Defiled Relic |
| One-hand | Resonating Crystal Scimitar |
| Chest | Robes of the Reborn Serpent |
Nothing matches that.
This boss drops a trinket. Trinket value varies enormously by spec — see the simulated trinket rankings.
Worth a bonus roll?
You cannot roll this boss on its own. A dungeon roll is against the whole instance, so this table is one part of a pool that includes every other boss in Temple of Sethraliss — the bonus roll guide explains what that changes, and the planner works it out per spec.